
How to make a sales funnel site without monthly fees

If you want to start selling digital products online, this is exactly for you. I know there are tons of choices out there, but you have to pay monthly fees for them. Here’s a way for beginners to start selling a digital product with minimal costs and no coding!
With all the sales lingo and terminology which makes you grind your teeth, I’ll try to explain it better. We can re-define the sales funnel in a friendlier manner using simpler terms. Are you comfortable bartering? Well we can start with that.
A sales funnel is the bartering method for the contemporary millennial era.
The virtual barter: to gain a visitor’s attention for provide a form of value and/or transaction.
Sales funnels are also known as click funnels but it’s not cylindrical plastic cone in this case. What’s the first thing you imagine when you hear sales funnel? How about a click funnel? I see the Atari game Tempest clicking with neon colored particles through a black tunnel.
Well okay, perhaps sales words are necessary to communicate knowledge between sellers, but are they needed for consumers? If you want to buy something from me, do you step in my sales funnel? Have we previously established some kind of rapport which makes you trust me?
Probably not; this is the internet after all. Therefore, if I want to sell a digital product among many similar other products online, how will you find me? It’s easier said than done.
For first-timers to sell digital products online, here’s my suggested process which is similar to other methods. I have to establish the presence, value and communication of my product to find you online. Actually, it’s more like allowing you to find my product faster. Notice how I mentioned three elements so allow me to elaborate:
- Presence – There must be an easily-reachable, fixed-location which contains the content, details and price of the product I want to sell for a monetary exchange.
- Value – There must be some form of representation (digital content) of what the product contains, offers, and allows you to do. (Preferably with proof)
- Communication – There must be widespread distribution of the information noted in presence and value of the product. This is the information targeting the end product user.
Next, I will focus on how to build your digital product’s value-exchange. Best of all, it will be using tools such as WordPress which do not have monthly fees.
Granted that hosting a website online has some associated fees but that’s also true if you don’t want to sell anything. Having your own website is good for proof authenticity of your digital product. Nearly all alternative options for selling digital products have monthly fees, take commissions and don’t guarantee that you will have sales so why would you start spending money if you haven’t tested the waters? For example, clickfunnels.com starts at $127 per month and mailchimp.com for $13/month.
Let’s cover the rapport-building, value exchange also known as the sales funnel. Here are the main components of a sales funnel including descriptions:
- Website – where prospects can find you
- Landing page – your proposition and offer
- Email registration – initial value exchange
- Drip Campaign – building rapport with more value
- Monetary Transaction – getting paid for your specialty knowledge
A website is needed with a public domain name and access to a server which allows you to upload software to it. We will use the free software content management system called WordPress.
The landing page is where prospects will arrive after making initial interest in your product. This page will contain any details to persuade the prospect and allow further communication with you. It is done mainly through email messages, but can also be done with chat. It is very typical for a prospect to show interest but not be ready to buy your product so it’s essential to provide more information.
If your proposition (landing page) got the prospect’s email address without lies, then good job! Nowadays, your brief 3-page colored PDF or virtual gift of spam will not gain you someone’s legit email address. The average landing-page visitor is smart enough not to give away their precious inbox after enduring years of spam. This part should be highly-targeted for your niche to grow your email list.
The drip campaign, which is another silly term, is where your prospect becomes a lead. We will call it an email campaign. This is where you should send email message offering more value to your lead. Trust is earned and rapport is not free (paying attention). From the emails you send, you are building the lead’s trust in you. This is also why chat bots are popular but not very effective as real-time chat. Break that trust and you have no sale!
As a sales analogy to real life, think of a stranger approaching you and the first question they ask is: “Hi, you look out of shape, would you like to buy my exercise book?” How dare you!?! You won’t buy it unless you get to know exactly how the book can help you and if the salesman is trustworthy. Perhaps he will let you read the first chapter.
The last but not final step is getting the ultimate value-exchange; money! We want the lead to pay us for the help we’ve provided. The lead becomes a customer. So even if our emails gave away 50% of the product without being paid, we should have built enough trust and thirst for the lead to buy-in.
Now let’s get technical and start building. Here are the steps I will walk you through to build your own value-exchange system. Free tools will be used where applicable staring with WordPress, a software system that’s been around for years to reach maturity and mass adoption. It is one of the reasons we can keep our expenses low.
The outline of the steps are:
- Server hosting
- WordPress Install
- WordPress Theme
- Email Opt-in Plugin
- Email Messaging Campaign Plugin
- Ecommerce sales plugin
- Merchant Payment Processor
Server Hosting
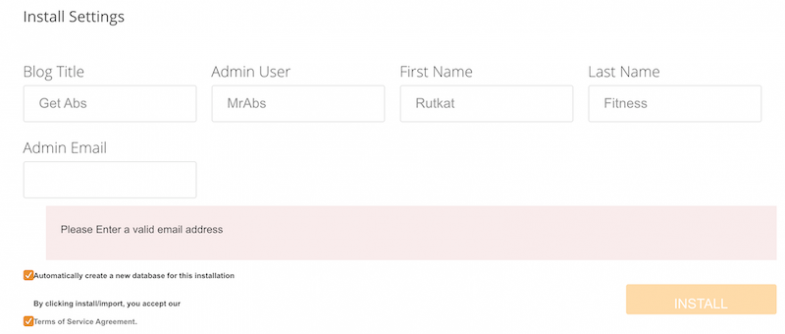
Get your web hosting from wherever, whoever, I don’t care who you choose as long as they have cpanel and QuickInstall, it will be easier for you. With QuickInstall, which is located in cpanel, you can choose to install WordPress using your email address and domain name.
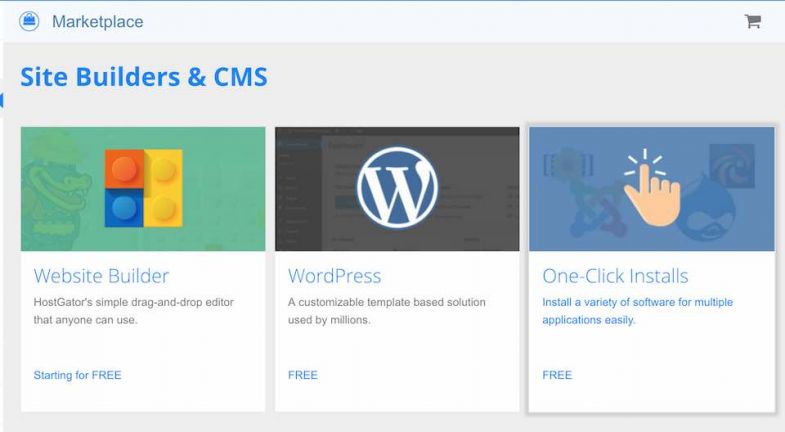
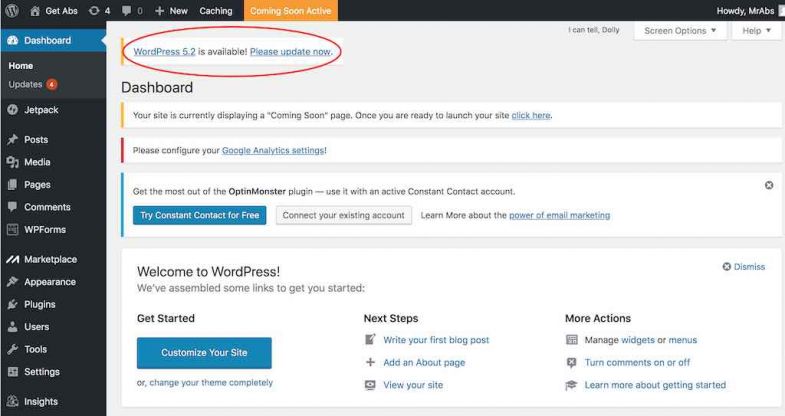
WordPress Install
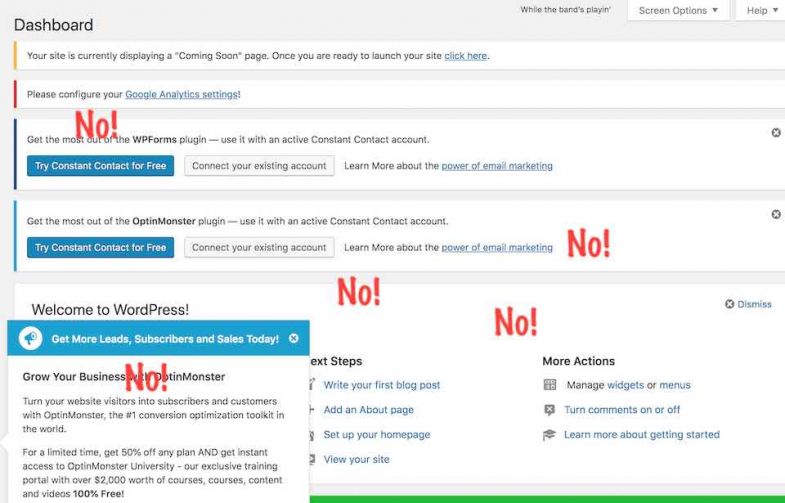
Once you receive your confirmation email from the WordPress CMS, login and you will be at the dashboard page. Ensure you have the latest WordPress core installed for security. According to WordPress, this update could be everyday. Just kidding, but it seems like it. Then you will want to disable all the bloat plugins which pretend to be free, but make you pay if you want to use them at full capacity. Uninstall them!

WordPress Theme
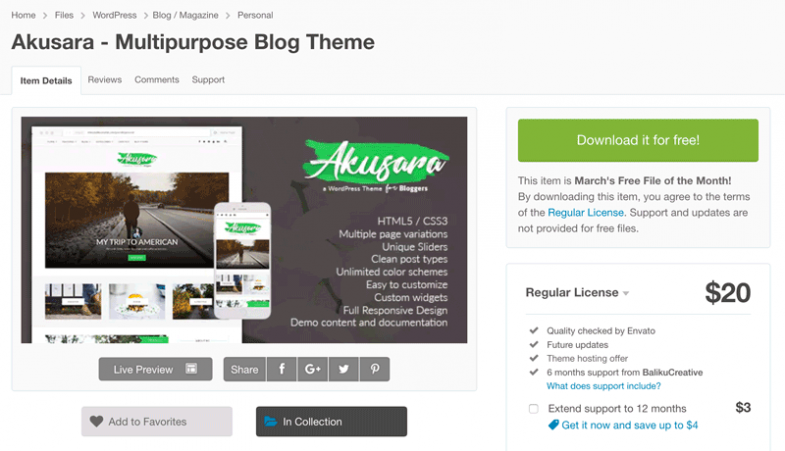
Don’t be an amateur by accepting one of the default themes pre-installed. Go out there and find something more appealing. You can check themeforest.net for many themes, including one free theme per month if you’re a registered user. I use them too.
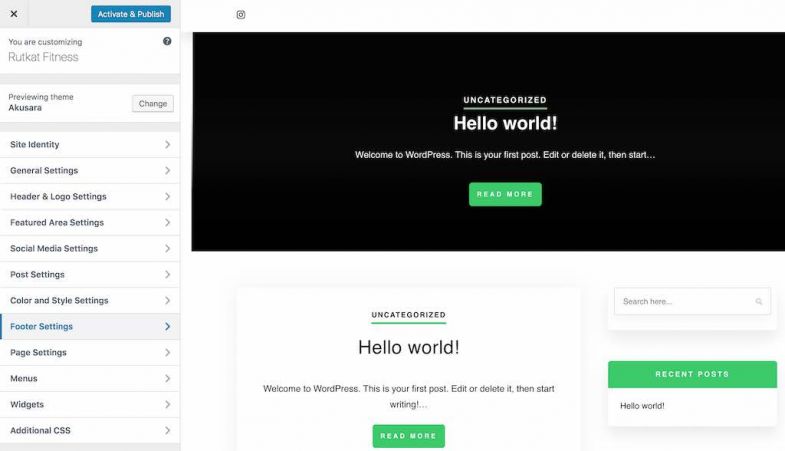
After installing your delightful new theme, you should customize it! Each theme has configurations through the settings panel so your website can be unique. Uploading your own logo and making at least one post should be the minimum if you’re lazy and want to test it out.
Email Opt-in Plugin
From here we will need a premium plugin. The features of this plugin are amazing. You get analytics just as you would with MailChimp, Constant Contact, Get Response, Aweber etc. Those service owners are rich. I’m not. You might be flabbergasted to find out Mailster is a big round $0 per month. Here are just a few of the features you will get from a premium plugin, which I purchased for myself but not affiliated with:
- html email templates
- Personalized high-dpi logo
- Email mx record verification
- Tracking email opens
- Email notifications
- Import/export subscribers
- Cron jobs
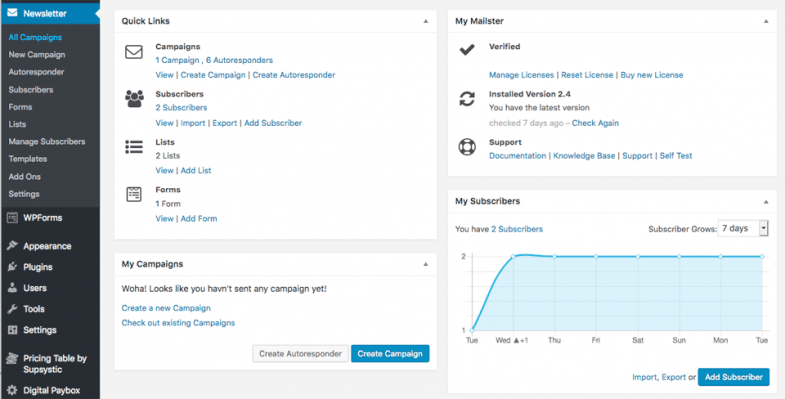
The plugin is not free but it’s worth the one-time price. After getting and installing the plugin. You will need to configure it. Here’s how followed by screenshots:
- Create List
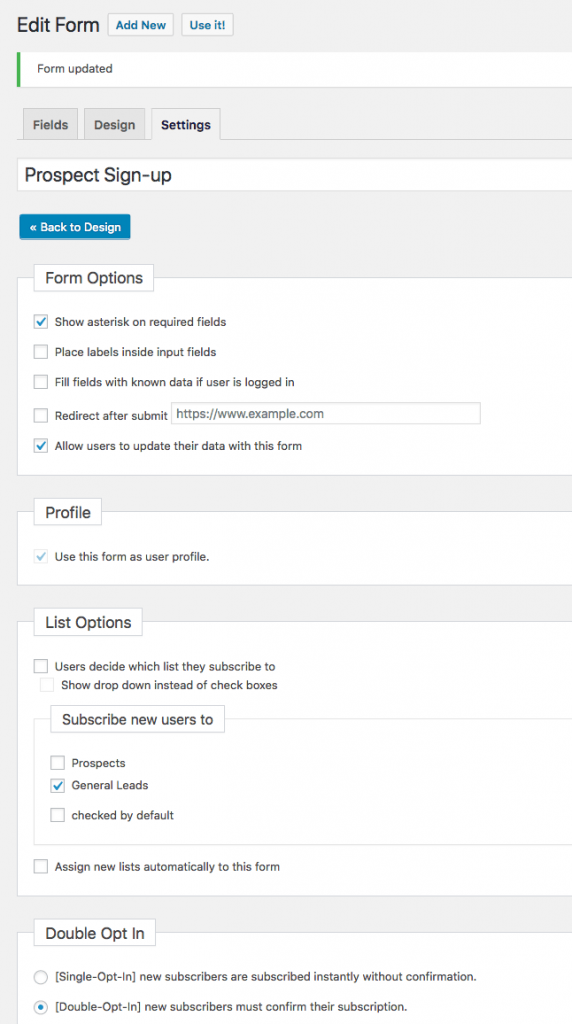
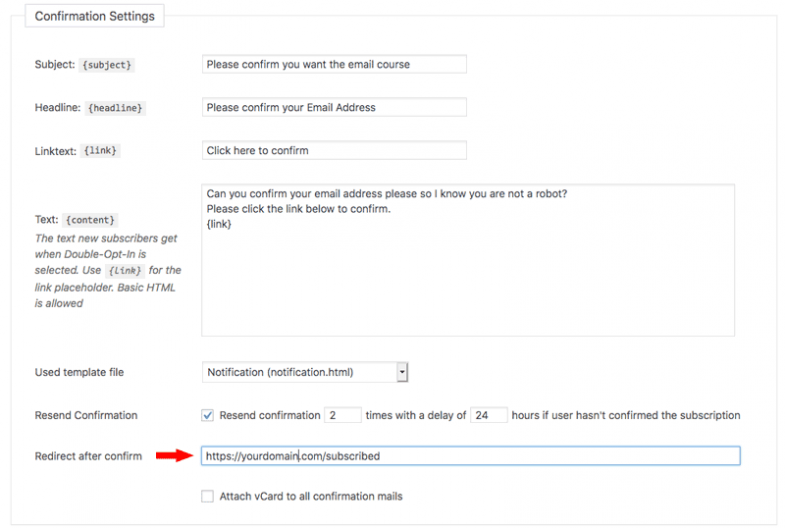
- Create a form, set List Options and Double-Opt-in
- Create a subscribed thank you page for the double opt-in
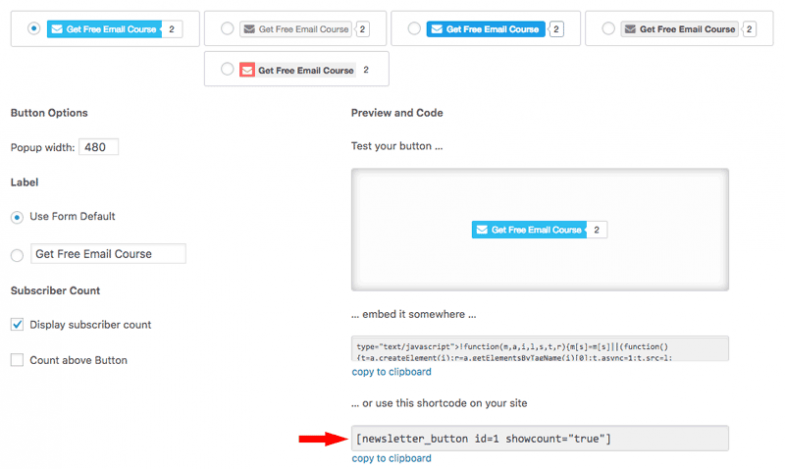
- Click the Use It! Button and copy the shortcode [newsletter_signup_form id=1] to use on your landing page. (Widget and iframe available)
- Create campaign Autoresponders

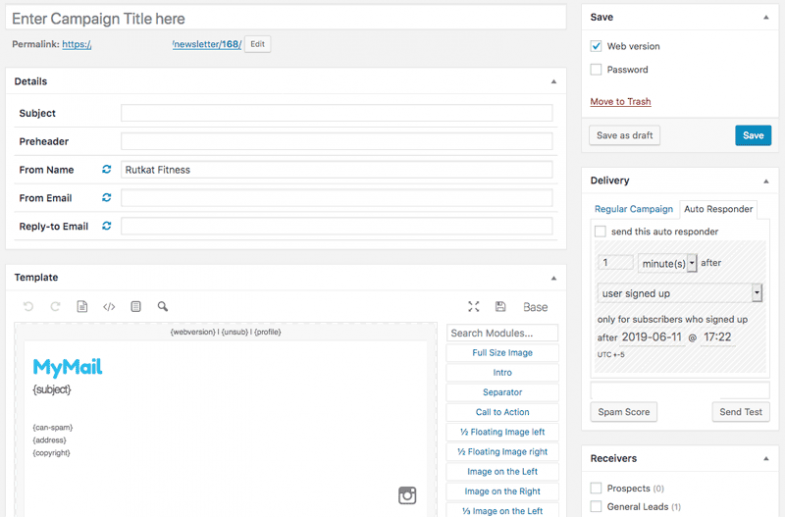
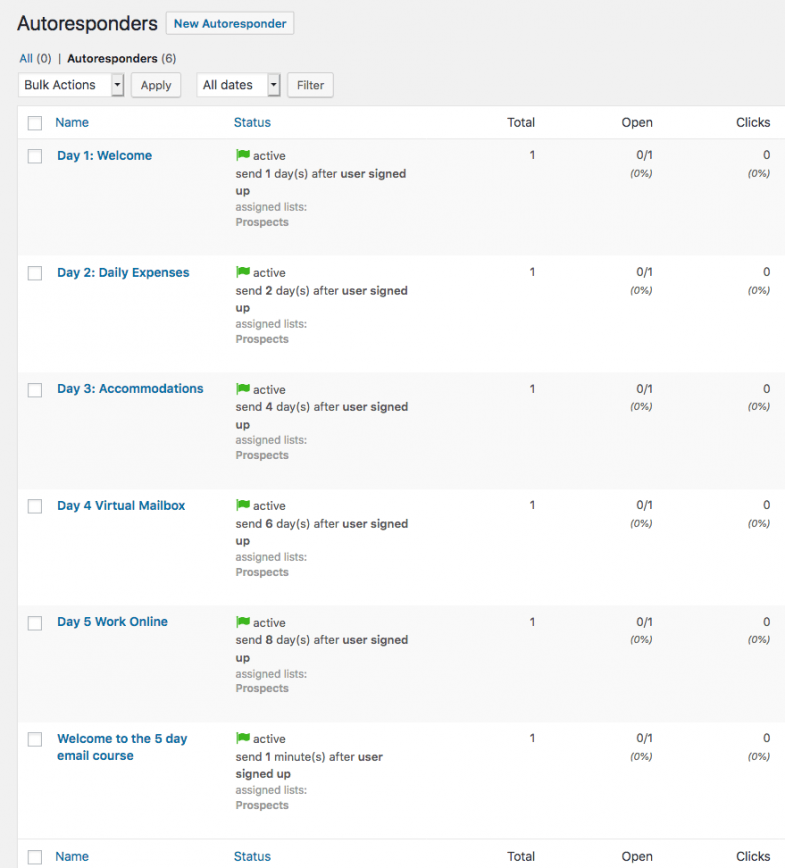
An email campaign is the email messages you will send periodically to your list of prospects. An auto-responder is a message you want to email out after a set period of time after a visitors signs up on your landing page. Creating a new auto-responder opens a new campaign form. The difference between the two is that auto-responders have two triggers for the message to be sent; an event trigger and a time period trigger. A campaign is triggered only at a specific time period.
This part requires good strategy because at this point you have earned a prospect’s email address turning them into a lead. With the double opt-in method, the email address is verified. Now to decide how many auto-responder messages you should send.
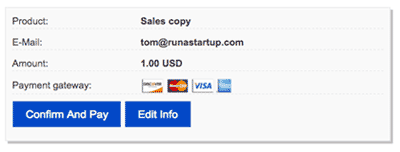
Congrats, but you’re not done yet! Now you are ready to sell or ask your prospects for a donation but you will need another plugin to receive a payment. This way you can automate your transaction in exchange for delivering digital goods.
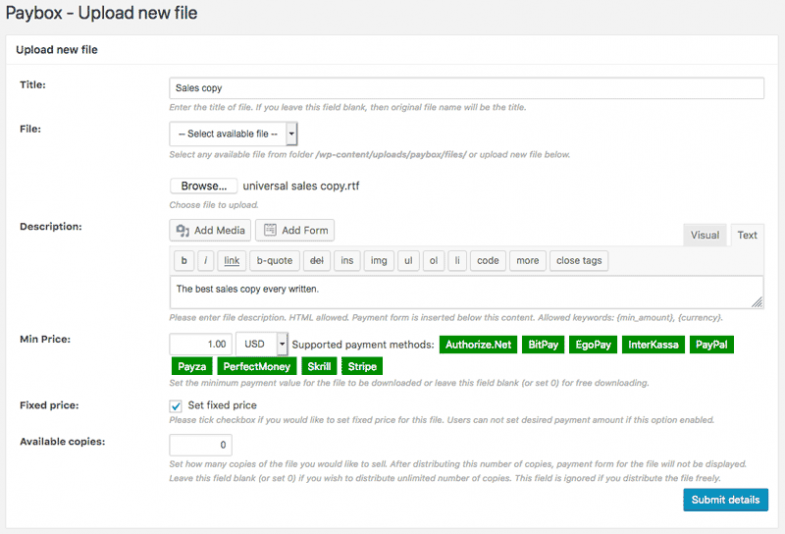
I recommend a bank account, an online payment gateway such as Stripe and the premium plugin Digital Paybox, which I spent hours researching. Digital Paybox has:
- Multiple payment gateway such as stripe and even bitcoin
- Multiple currencies
- Fixed and flexible pricing
- Temporary download links to prevent theft
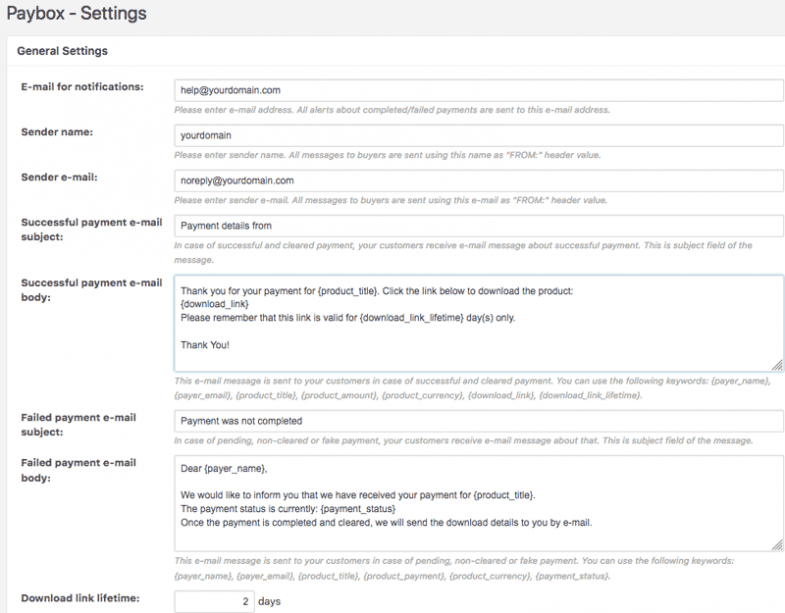
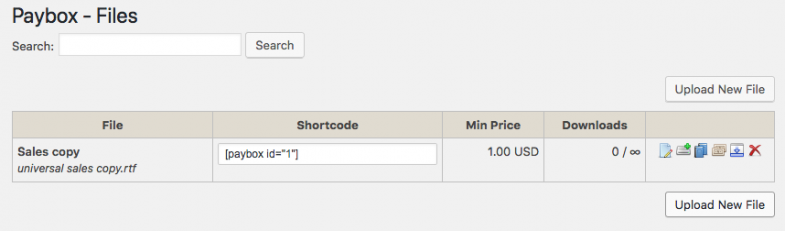
Once you install and activate Digital Paybox, fill out the settings section with a charming message your new customer will receive. Below the message section are fields for each payment processor to be added. Choose the one you would like to use.
Well done! That is the A-Z process of a sales funnel. If you had any difficulties setting this up or need me to setup a sales funnel for you, reach out to me on my twitter.com/therutkat or email.